
I always thought that making the design of SharePoint Designer Workflow is a really simple task for everyone. Well… It seems that I was wrong. Of course, if you do this on daily basis it will be simple for you, but when you start from scratch it could be a real challenge. So today I am going to write the first post from the series about SharePoint designer workflow. Of course, to do this we need SharePoint designer which is right now a free tool that can be downloaded from Microsoft site
Are you ready? So let’s start. The first step which you should do is “Open Site“. It means that you have to open “place :)” where our workflow will run. In the begging few words of explanations. We have three kinds of workflows
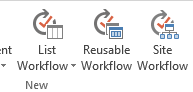
- List Workflow
- Reusable Workflow
- Site Workflow
In general, most of your workflow will be List workflow. It means that the process will be pinned to an existing list or library and use properties of it. Please take a look at the print screen below. This is how your SharePoint designer screen will look like when you select from left menu List and libraries and then something specific.

Let’s create first SharePoint Designer Workflow
Press the button List Workflow. You will see window like below. You have to enter process name and workflow type
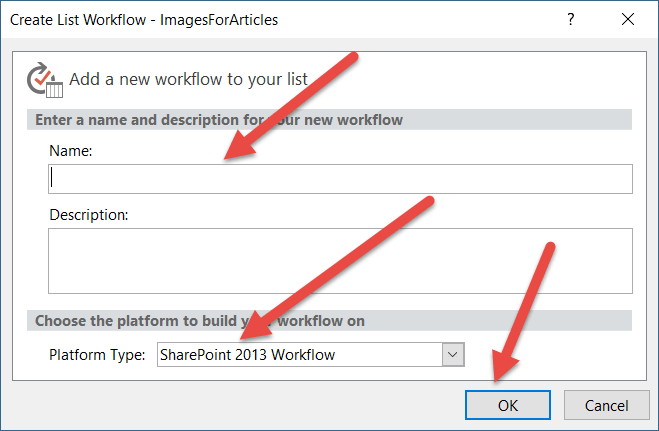
We have two options here. One of them is SharePoint 2013 workflow, and the second is SharePoint 2010. The important thing here is that in some cases SharePoint 2010 process could be necessary to meet some requirements. For example when you to send out emails message outside of your organization tenant in SharePoint online. It’s not possible in SharePoint 2013 designer workflow.
The most important difference is that 2013 workflow can act as State Workflow, which means that we can turn back to the action which already happened in the process. In case of SharePoint 2010 you do not have such an option. Workflow process steps one by one in sequence.
Ok. Let come back to our form. Enter workflow name, then select type and press ok. And when we can do it next I will write in the next post.

